How to convert your website to SSL for Free

I was very doubtful to learn of the new offering by CloudFlare SSL and actually procratenated on installing it until yesterday. How the heck can they offer SSL for Free without having to install certificates? Since Google ranks SSLbased sites higher than non https sites it was time to make the switch. The nice thing about this excercise I have several different website configurations: Static Website built on Foundation, Ghost, and Wordpress just to cover all the bases.
Cloud Flare offers serveral different levels of SSL protection. The Free level is Flexible SSL. This is the level I installed on all my sites including this one.
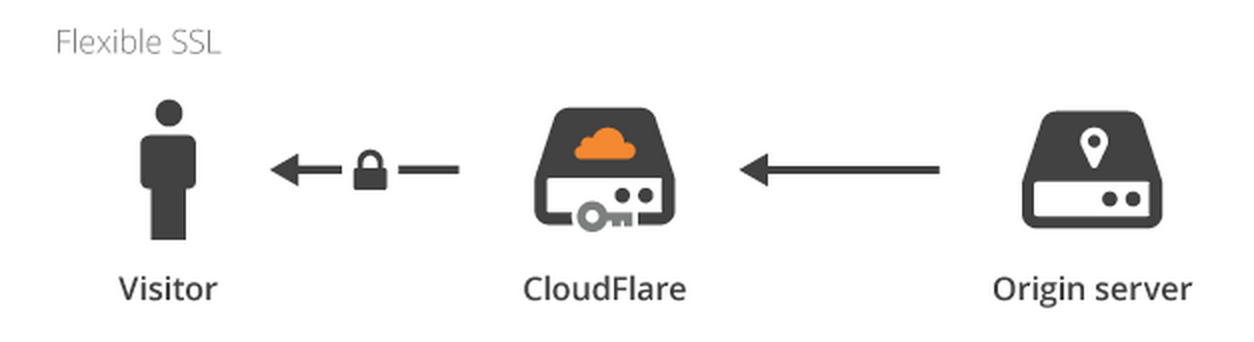
Flexible SSL: is an encrypted connection between your site visitors and CloudFlare, but not from CloudFlare to your server.
First things first. If you are not using CloudFlare now's the time to singup and take advantage of this awesome CDN service. Here's the quick and dirty to get started with CloudFlare Getting started
How to switch to CloudFlare SSL with a Static Website
This is obviously the easiest switch.
-
Open the CloudFlare dashboard and click on the gear on the left side to access the settings.

-
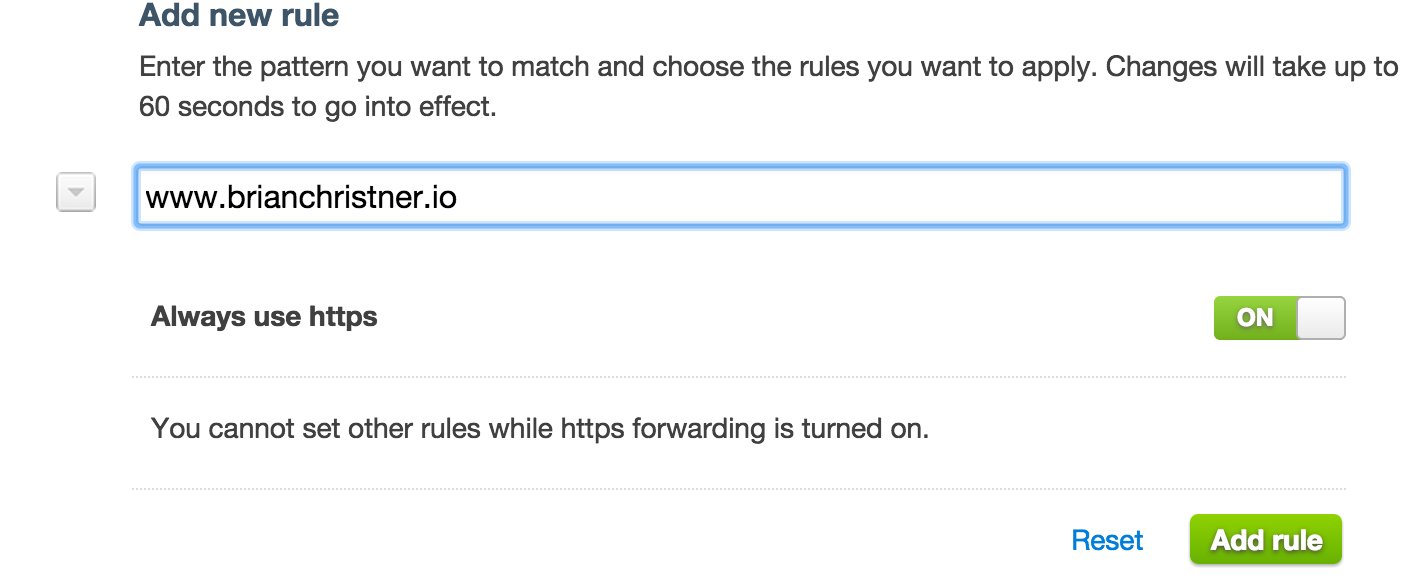
Click on Page rules
-
Add a new rule and toggle the Always use HTTPS flag. Type the domain name format you wish to forward to https. This will be either www.domain.com or domain.com
-
After about 5 minutes your web traffic will start forwarding to https and you will see the green SSL lock on your address bar. W00T!
How to switch to CloudFlare SSL with a Ghost Website
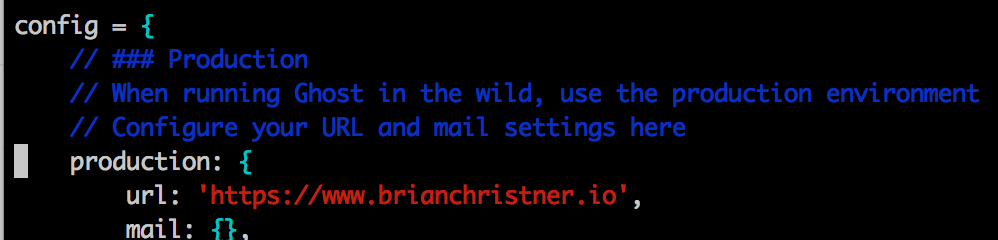
So the same rules apply for Ghost. We will create the rule just as we have above. Once the rule has been created for your Ghost Website you will need to edit your config.js inside of your Ghost installation directory. Update the URL field in this file to HTTPS.
How to switch to CloudFlare SSL with a Wordpress Website
We wouldn't be complete without updating our Wordpress site as well, right?
Of course last but not least caused me the biggest grief. Initially everything worked great until I tried to login to the wp-admin section. When I tried to login via wp-admin it went in an indefinite redirect loop and couldn't login.
After hours of writing redirect rules and Googling I finally found a solution. That is until I found TJOSM which saved the day and my sanity as he created the complete tutorial on making the switch for WordPress with NGINX.
SSL Everywhere
Now that I have SSL installed and running across all my domains I not only feel safer but I'm expecting any moment my Google rankings to jump through the roof.
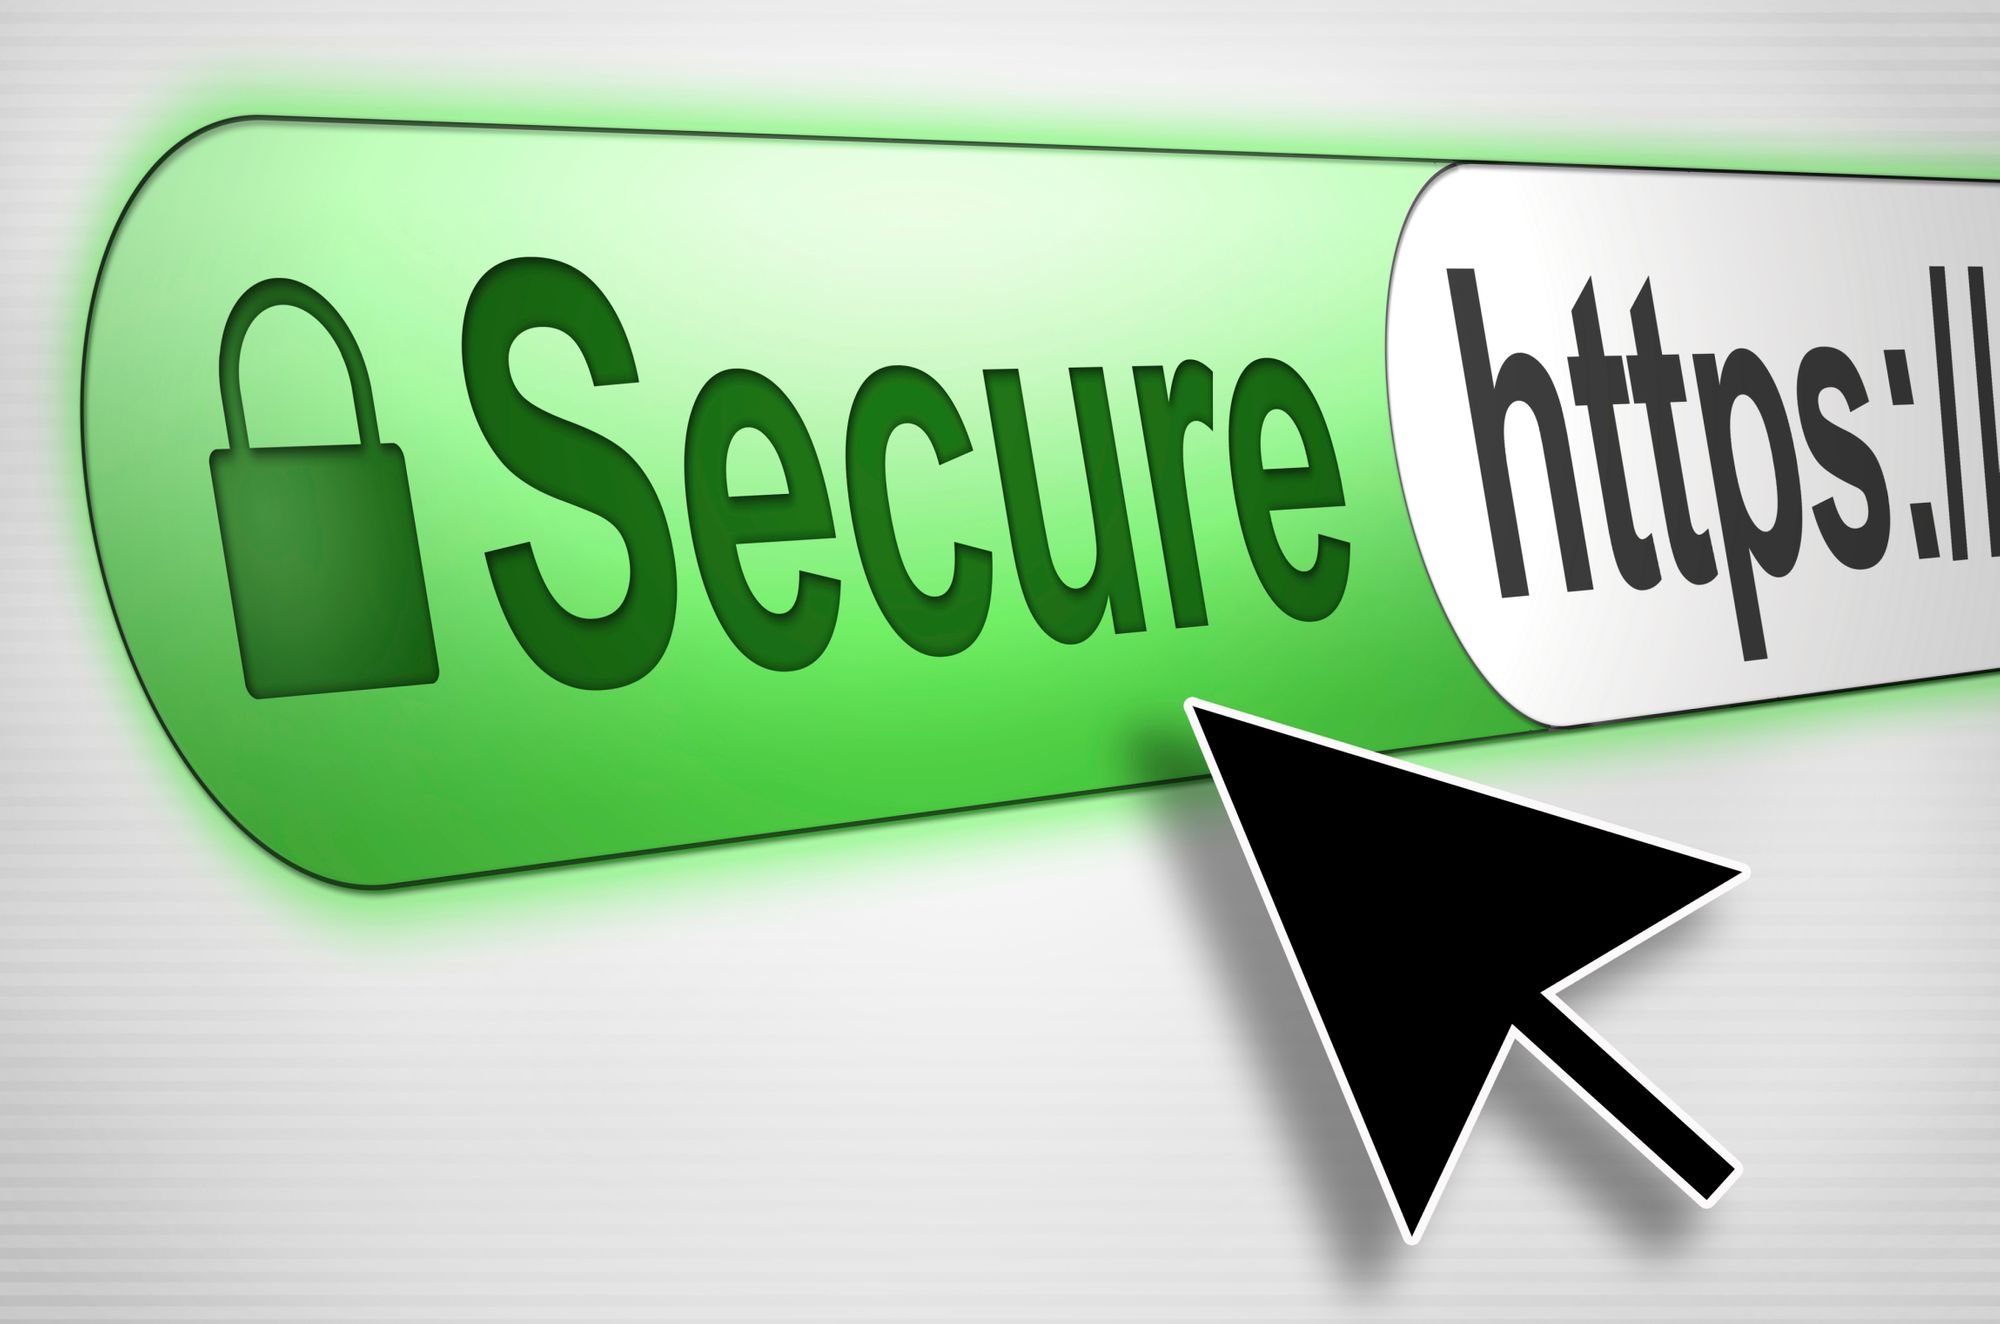
Either way it is a nice to see the green lock in my address bar when I access my websites now.
Mission accomplished for a Free SSL installation.
Follow me
If you liked this article be sure to Follow Me on Twitter to stay updated!